
A holiday baking day is one relaxed day at home when you bake the season's treats in a single session — usually two or three recipes, made in a calm morning-to-afternoon flow, instead of squeezing baking into busy weeknights. Pick a Saturday or Sunday in late November or early December, choose one or two recipes you already trust, set the kitchen up the night before, and bake in stages: mix the first dough while the oven heats, shape cookies while the first tray bakes, and cool everything on racks before you pack it away. Done this way, a baking day feels like a holiday tradition, not a chore.
The secret is keeping it small. A baking day goes wrong when the recipe list is too long, the kitchen is not ready, or everyone is hungry and tired by the second batch. Limit yourself to two recipes — one simple drop cookie or bar, and one roll-out or shaped cookie — and make a double batch of the family favorite instead of adding a third recipe. You will finish with full tins, a clean kitchen, and energy left to enjoy the evening. If you want a third treat, choose something no-bake, like chocolate-dipped pretzels or a simple fudge, which needs no oven time at all.
Pick Your Baking Day Date
Choose the date at least a week ahead and put it on the calendar like any other plan. Early December works best for most families: the treats are still fresh for holiday gatherings, and you avoid the last-minute rush of the week before Christmas. If you are baking gifts, aim for the weekend two weeks before you plan to give them, so you have time to wrap and deliver. A morning start — around 9 or 10 — gives you the whole day without rushing, and the smell of baking fills the house by lunchtime.
Tell everyone in the house the plan in advance. A baking day works best when the people joining you know what to expect: comfortable clothes, a job for everyone, and lunch planned ahead so nobody has to stop mid-batch to cook a meal. Soup in a slow cooker, sandwiches, or leftovers make a good baking-day lunch because they need no attention while the oven is busy. If you already plan your meals for the week, a baking day fits neatly into the same kind of thinking — one relaxed day of cooking that serves the whole week ahead, much like the approach in our guide to planning a week of simple dinners without the daily decision fatigue.
Choose Recipes You Already Trust
Pick recipes you have made before, or ones with short ingredient lists and forgiving steps. Sugar cookies, gingerbread, shortbread, chocolate chip cookies, and simple brownies all suit a baking day because they use pantry basics and bake in short rounds. Avoid brand-new, complicated recipes on baking day — save those for a quiet afternoon when you can give them your full attention. If you want to try something new, make it the second recipe, after the trusted one is already in the oven and you feel confident.
Read each recipe all the way through the night before. Note the oven temperature, the chill time, and any ingredients that need to come to room temperature, like butter and eggs. Write a single shopping list for both recipes so you buy once, and check the pantry first — flour, sugar, baking soda, vanilla, and butter run out at the worst moments. Measuring dry ingredients into bowls the night before is a small step that makes the morning feel easy instead of frantic.
Set Up the Kitchen the Night Before
A good setup takes twenty minutes the night before and saves an hour on baking day. Clear one counter completely and call it the baking counter. Set out the mixer, baking sheets, parchment paper, cooling racks, measuring cups and spoons, and the bowls you will need. Line the sheets with parchment now, so you are not fumbling with the roll while dough waits. Put the butter and eggs on the counter to warm up, or set a reminder to take them out first thing in the morning.
Plan the flow of the day on a single sheet of paper: recipe one mixes at 10, bakes at 10:30, cools by 11; recipe two mixes at 11, bakes at 11:30, and you are done by early afternoon. A written plan keeps everyone on the same page and stops the day from drifting. If you like a warm drink while you bake, setting up a cozy hot drink station at home for winter the night before means cocoa or tea is ready whenever you want a break.

The Baking Day Timeline
Start by heating the oven to the temperature of the first recipe, then mix that dough while the oven warms. Most cookie doughs take ten to fifteen minutes to mix, and the oven needs about the same time to reach temperature, so the two jobs fit together neatly. While the first tray bakes — usually eight to twelve minutes — shape the next tray or start the second dough. This overlap is what makes a baking day efficient: the oven is never sitting empty, and you are never standing around waiting.
Give every tray its full cooling time. Cookies continue to firm up on the hot tray for two or three minutes after they leave the oven, and moving them too soon breaks the soft ones. Slide them onto a cooling rack with a thin spatula and let them cool completely before stacking or packing. Warm cookies packed into a tin turn soft and stick together, so patience here protects all your work. While trays cool, wash the bowls and tools you no longer need — cleaning as you go means the final cleanup takes ten minutes instead of an hour.
Baking With Kids and Family
A baking day is one of the easiest family traditions to start because there is a real job for every age. Young children can pour pre-measured ingredients, stir the bowl, and press cookie cutters into rolled dough. Older kids can measure, read the recipe aloud, and watch the oven timer. Adults handle the oven and the hot trays. Give each person one clear job and let them own it, and the day feels like a team effort instead of one person working while everyone else watches.
Keep the atmosphere relaxed. Play holiday music, keep a drink nearby, and accept that flour will end up on the counter and on sleeves — that is part of the fun. If a batch comes out imperfect, set it aside as the tasting batch and move on; nobody remembers the slightly flat cookies, but everyone remembers laughing in the kitchen. When the baking is done, taste one warm cookie together before you pack the rest away — that first taste is the reward for the whole morning.
Cooling, Storing, and Sharing
Once everything is completely cool, sort the treats into three groups: one tin for the family, one box for sharing, and one plate for tonight. Store cookies in tins or jars with tight lids, with a sheet of parchment between layers so the decorations stay neat. Most cookies keep well for a week at room temperature, and many freeze beautifully for up to a month — freeze them in a single layer first, then stack them in a freezer bag with the air pressed out. Label the bag with the date and the recipe name so you know what you have later.
Sharing is where a baking day earns its keep. A small box of homemade cookies makes a thoughtful gift for neighbors, teachers, and friends, and it costs far less than a store-bought gift. Pack a few of each kind in a simple box lined with parchment, tie it with ribbon, and add a small note with the cookie names. If you are already planning a gathering, a plate of your baking day cookies is an easy contribution — the same relaxed, homemade spirit that makes a simple potluck dinner at home work so well. And if the baking day leaves you in a cozy mood, an evening of planning a cozy movie night at home is the perfect way to finish the day.
Clean Up Without the Dread
The cleanup is the part most people fear, and it is the easiest to manage if you clean in small rounds. Wash bowls and tools while each tray bakes, wipe the counter between recipes, and load the dishwasher as you finish each step. By the time the last tray cools, only the mixer bowl and a few trays are left. A baking day that ends with a clean kitchen feels complete, and it makes you want to do it again next year. If the kitchen still feels messy at the end, remember the simple rule from our guide to keeping a tidy home with just 10 minutes a day: ten focused minutes of putting things away changes a room completely.
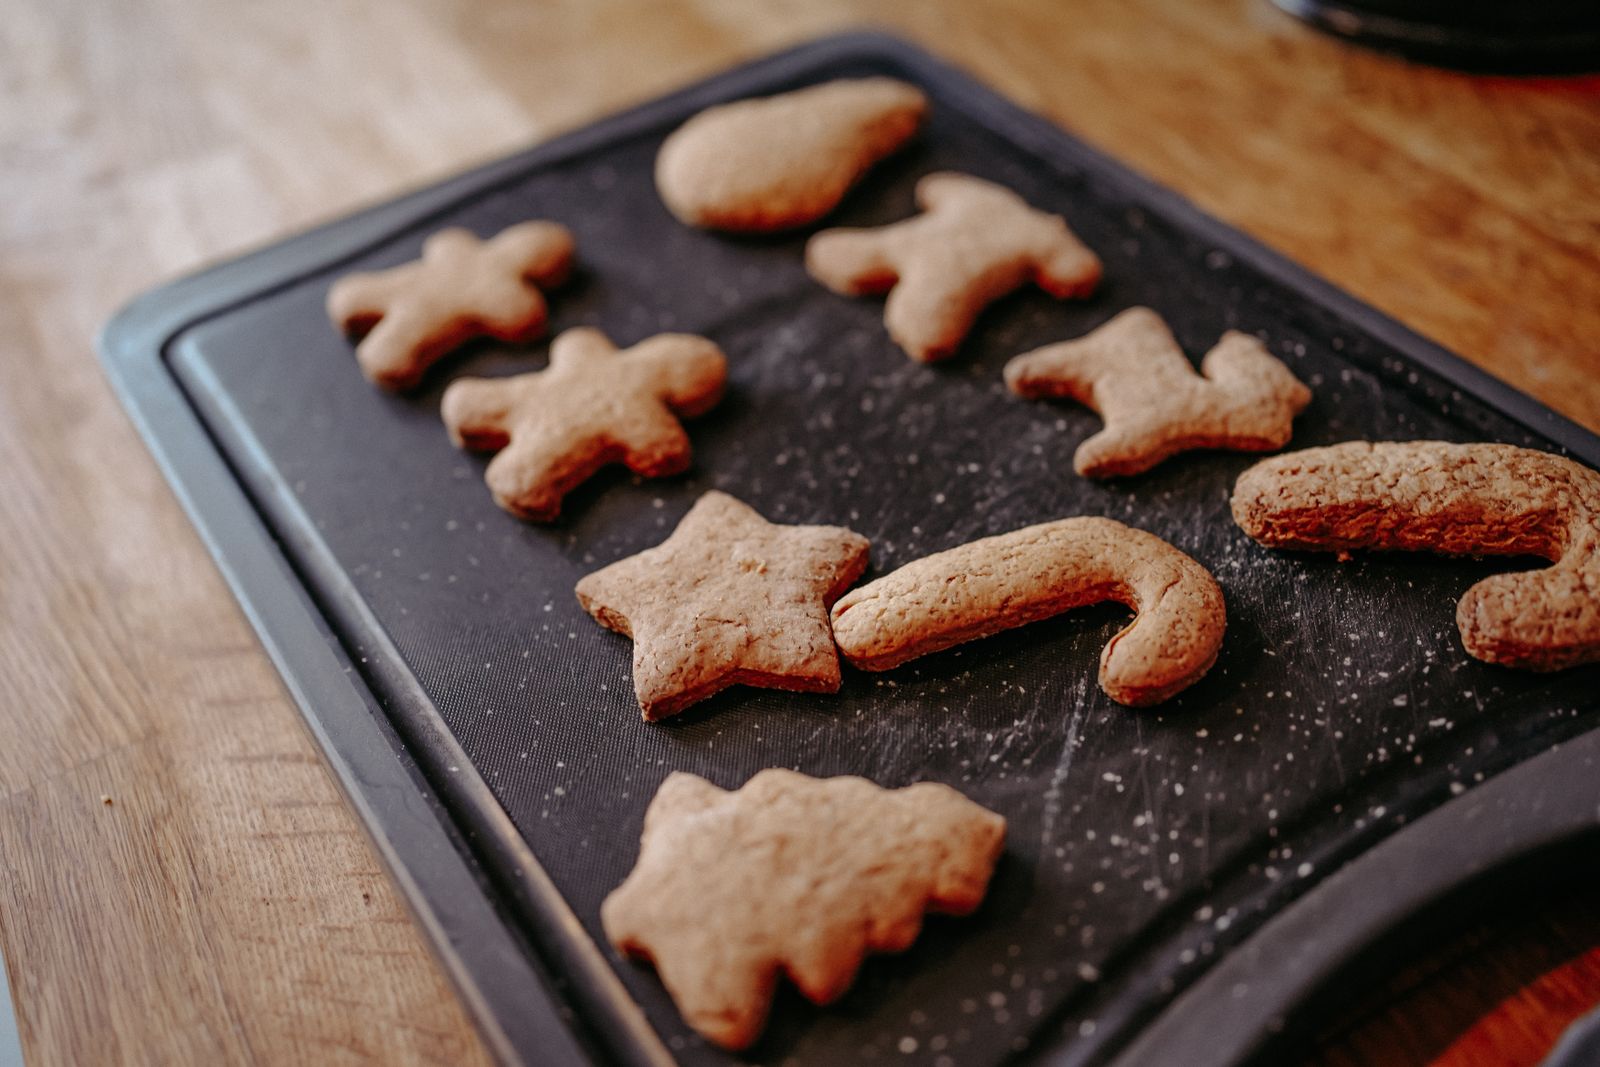
Make It a Tradition, Not a One-Off
The first baking day is the hardest because everything is new. The second year, you know which recipes work, where the tools live, and how long the day really takes. Keep a short note after each baking day — what you made, what worked, what to change next time — and tuck it into your recipe book. Next year, that note turns the day from a project into a tradition. Some families bake the same two recipes every year; others add one new recipe each December and retire the least favorite. Either way works, as long as the day stays relaxed.
You can also split the day across two shorter sessions if a full day feels like too much. Mix and chill the doughs on Saturday evening, then shape and bake on Sunday morning. The cookies taste the same, and each session is only an hour or two. The point of a baking day is not to spend the whole day in the kitchen — it is to gather the season's baking into one enjoyable session and then enjoy the results for weeks.
What If Something Goes Wrong?
Every baker has a bad batch. Cookies spread too thin, a tray gets too dark, or a recipe doubles badly. When it happens, treat it as information, not failure. Cookies that spread usually mean the butter was too warm or the dough needed a longer chill — pop the next tray in the fridge for fifteen minutes before baking. Cookies that brown too fast usually mean the oven runs hot — lower the temperature by 25 degrees and check a minute early. And if a whole recipe fails, you still have the other recipe, the music, and the morning together. That is the real tradition.
If you run short on an ingredient mid-day, improvise rather than stopping. Out of brown sugar? Use white sugar with a spoonful of molasses or honey. No parchment? Lightly grease the tray instead. The baking day is about the experience, not perfection, and a small substitution rarely changes the result enough to matter. Keep a simple backup plan, like a batch of no-bake treats, in your pocket for the day nothing goes right.
Frequently Asked Questions
How many recipes should I bake on a baking day?
Two recipes is the sweet spot for most families. One trusted recipe and one new or second favorite gives you plenty of treats without a long, tiring day. If you have helpers and a full day free, three works — but add the third only as a no-bake recipe that needs no oven time.
How far ahead can I bake holiday cookies?
Most cookies keep about a week in a sealed tin at room temperature. For longer storage, freeze them for up to a month in a sealed bag or container, with parchment between layers. Thaw them on the counter for an hour before serving, and they will taste freshly baked.
Do I need special equipment for a baking day?
No. A mixer or a strong arm, two or three baking sheets, parchment paper, cooling racks, and basic measuring tools are enough. Cooling racks matter most — without them, cookies steam on the tray and turn soft. If you only buy one thing, buy a second cooling rack.
Can I bake with a small kitchen?
Yes. The key is clearing one counter and working in small batches. Mix one recipe, bake it, cool it, and pack it before starting the next. A small kitchen actually helps, because everything you need is within arm's reach and cleanup is fast.
What should I do with leftover dough?
Most cookie dough freezes well for up to three months. Roll it into a log, wrap it tightly, and label it with the recipe and date. When you want fresh cookies later, slice and bake straight from the freezer, adding a minute or two to the baking time.
A holiday baking day is a simple idea with a big payoff: one relaxed day, a kitchen full of good smells, treats to share for weeks, and a memory your family will ask to repeat. Pick the date, keep the recipe list short, set up the night before, and let the d



0 Comments
Play nice — spam and promo links are deleted.